




Workspace Rules
Workspace Rules
Workspace Rules let Workspace Admins enforce expense policies by setting requirements for receipts, spending limits, required fields, category behavior, and Expensify Card spend. These rules help ensure compliance and reduce manual review.
The Rules page is organized into tabs: General, Card restrictions, Expense defaults, Field requirements, Flag for review, and Agents.
If your requirements can’t be handled with these rules alone, create an Agent Rule. Agent Rules are AI-powered rules that automate report reviews, routing, approvals, and other workspace actions using natural-language instructions. Learn how to create Agent Rules.
Who can use Workspace Rules
- Only Workspace Admins can enable, update, or disable Workspace Rules.
- Rules are available on the Collect and Control plans.
- On the Collect plan, only Require fields for all expenses and Billable expenses on the General tab are available. Selecting any other rule or tab prompts you to upgrade to Control.
How to enable Workspace Rules
- In the navigation tabs (on the left on web, and at the bottom on mobile), click Workspaces.
- Click your workspace name.
- Click More features.
- Under the Manage section, toggle on Rules.
Rules then appears in the left menu.
How to set basic rules on the General tab
The General tab holds the Basic rules card, which applies to every expense on the workspace.
- In the navigation tabs (on the left on web, and at the bottom on mobile), click Workspaces.
- Click your workspace name.
- Click Rules.
- Open the General tab and select the rule you want to configure.
Available rules:
- Flag expenses older than – Flag spend older than a specific number of days.
- Flag expenses above amount – Flag spend that exceeds this amount, unless overridden by a category rule.
- Flag receipt line items – Flag receipts that contain restricted purchases, such as alcohol, gambling, or tobacco. Learn how the Prohibited Expenses rule works.
- Require receipts – Require a receipt, an itemized receipt, or both when spend exceeds the amounts you set, unless overridden by a category rule.
- Require fields for all expenses – Require a Category, a Tag, or both on every expense.
- Cash expenses – Choose how cash expenses are created. A cash expense is any expense that isn’t an imported company card transaction, including manually created expenses, receipts, per diem, distance, and time expenses. Select Reimbursable or Non-reimbursable to set a starting value that members can change on each expense, or select Always reimbursable or Always non-reimbursable to fix the value for every cash expense. When you select an Always option, the Reimbursable toggle is hidden on the expense and on every split created from it.
- Billable expenses – Choose whether cash and credit card expenses are billable by default.
- Require company cards for all purchases – Flag all cash spend, including mileage and per diem expenses. Only available after company cards are connected to the workspace.
- eReceipts – Automatically create eReceipts for most USD credit transactions.
- Attendee tracking – Track the per-person cost for every expense.
- Public receipt visibility – Control who can view receipt images. When enabled, receipts are viewable by anyone with the URL, even people who don’t have access to the report. When disabled (the default), receipts are only viewable by Expensify members with access to the report containing the receipt.
Cash expenses and Billable expenses can also be set per merchant. Learn how Merchant Rules work.
How to restrict Expensify Card spend on the Card restrictions tab
The Card restrictions tab holds Expensify Card Spend rules, which approve or decline card transactions in real time based on currency, amount, merchant, and merchant type. The tab appears once the Expensify Card is enabled for the workspace.
Every Expensify Card includes built-in protection that always declines charges for adult services, ATMs, gambling, and money transfers. Those default protections are listed under Default on this tab and can’t be edited or removed.
- In the navigation tabs (on the left on web, and at the bottom on mobile), click Workspaces.
- Click your workspace name.
- Click Rules.
- Open the Card restrictions tab.
- Click Add spend rule.
- Configure the rule and click Save rule.
To edit or delete an existing rule, click the rule under Custom rules, make your changes, and click Save rule or Delete rule.
Learn how to create Expensify Card Spend rules.
How to apply expense defaults on the Expense defaults tab
The Expense defaults tab holds rules that fill in expense fields automatically, so members don’t have to. Each rule matches on a merchant, a merchant type, or a category, and then updates fields such as the category, tag, description, or tax rate.
- In the navigation tabs (on the left on web, and at the bottom on mobile), click Workspaces.
- Click your workspace name.
- Click Rules.
- Open the Expense defaults tab.
- Click Add rule, then select Apply expense defaults.
- Select Merchant to update fields on expenses from a specific merchant, or Category to set a default tax rate for a specific category.
- Configure the rule and click Save rule.
Default categories based on the merchant’s MCC (Merchant Category Code) also live on this tab. They appear as rules with a condition of Merchant type is and a rule of Update category to.
Learn how Merchant Rules work.
How to require expense fields on the Field requirements tab
The Field requirements tab holds rules that require or waive specific expense fields for a category. Use it to require a description, attendees, a receipt, or an itemized receipt on expenses in a given category, or to waive a requirement that the General tab sets for everyone.
- In the navigation tabs (on the left on web, and at the bottom on mobile), click Workspaces.
- Click your workspace name.
- Click Rules.
- Open the Field requirements tab.
- Click Create field requirement rule.
- Configure the rule and click Save rule.
How to flag expenses on the Flag for review tab
The Flag for review tab holds rules that alert approvers when specific expenses need a closer look. Each rule flags expenses in a category when the individual expense amount, or the daily category total on a report, goes above the amount you set.
- In the navigation tabs (on the left on web, and at the bottom on mobile), click Workspaces.
- Click your workspace name.
- Click Rules.
- Open the Flag for review tab.
- Click Create flag rule.
- Configure the rule and click Save rule.
How to automate reviews on the Agents tab
The Agents tab holds Agent Rules, which are written in plain language and run automatically on your workspace.
- In the navigation tabs (on the left on web, and at the bottom on mobile), click Workspaces.
- Click your workspace name.
- Click Rules.
- Open the Agents tab.
- Click Add AI rule.
Learn how to create Agent Rules.
How to add a rule from any tab
Add rule stays in the top-right corner of the Rules page on every tab. It opens the New rule page, where you choose what the rule should do:
- Restrict card spend – Block or limit spend at the point of sale.
- Flag for review – Notify approvers when expenses exceed category limits.
- Set field requirements – Require specific expense fields or waive requiring them.
- Apply expense defaults – Update fields without the submitter doing anything.
- Describe agent rule – Create flexible rules that run when you need.
How to set rules for a single category
Category-specific behavior is set as a rule on the Rules page, not on the category itself. Open a category to set its Approver and Description hint, and use the Category rules section at the bottom of the category to review the rules that already apply to it.
- In the navigation tabs (on the left on web, and at the bottom on mobile), click Workspaces.
- Click your workspace name.
- Click Categories.
- Click a category to open it.
- In the Category rules section, click Create new rule.
Learn how to create expense categories.
Where to find report-level rules
Rules that apply to a whole expense report are on the Advanced tab of the Workflows page, not on the Rules page. They are Prevent self-approvals, Auto-approve compliant reports, and Auto-pay approved reports.
Learn how to configure Workspace Workflows.
What happens when an expense breaks a rule
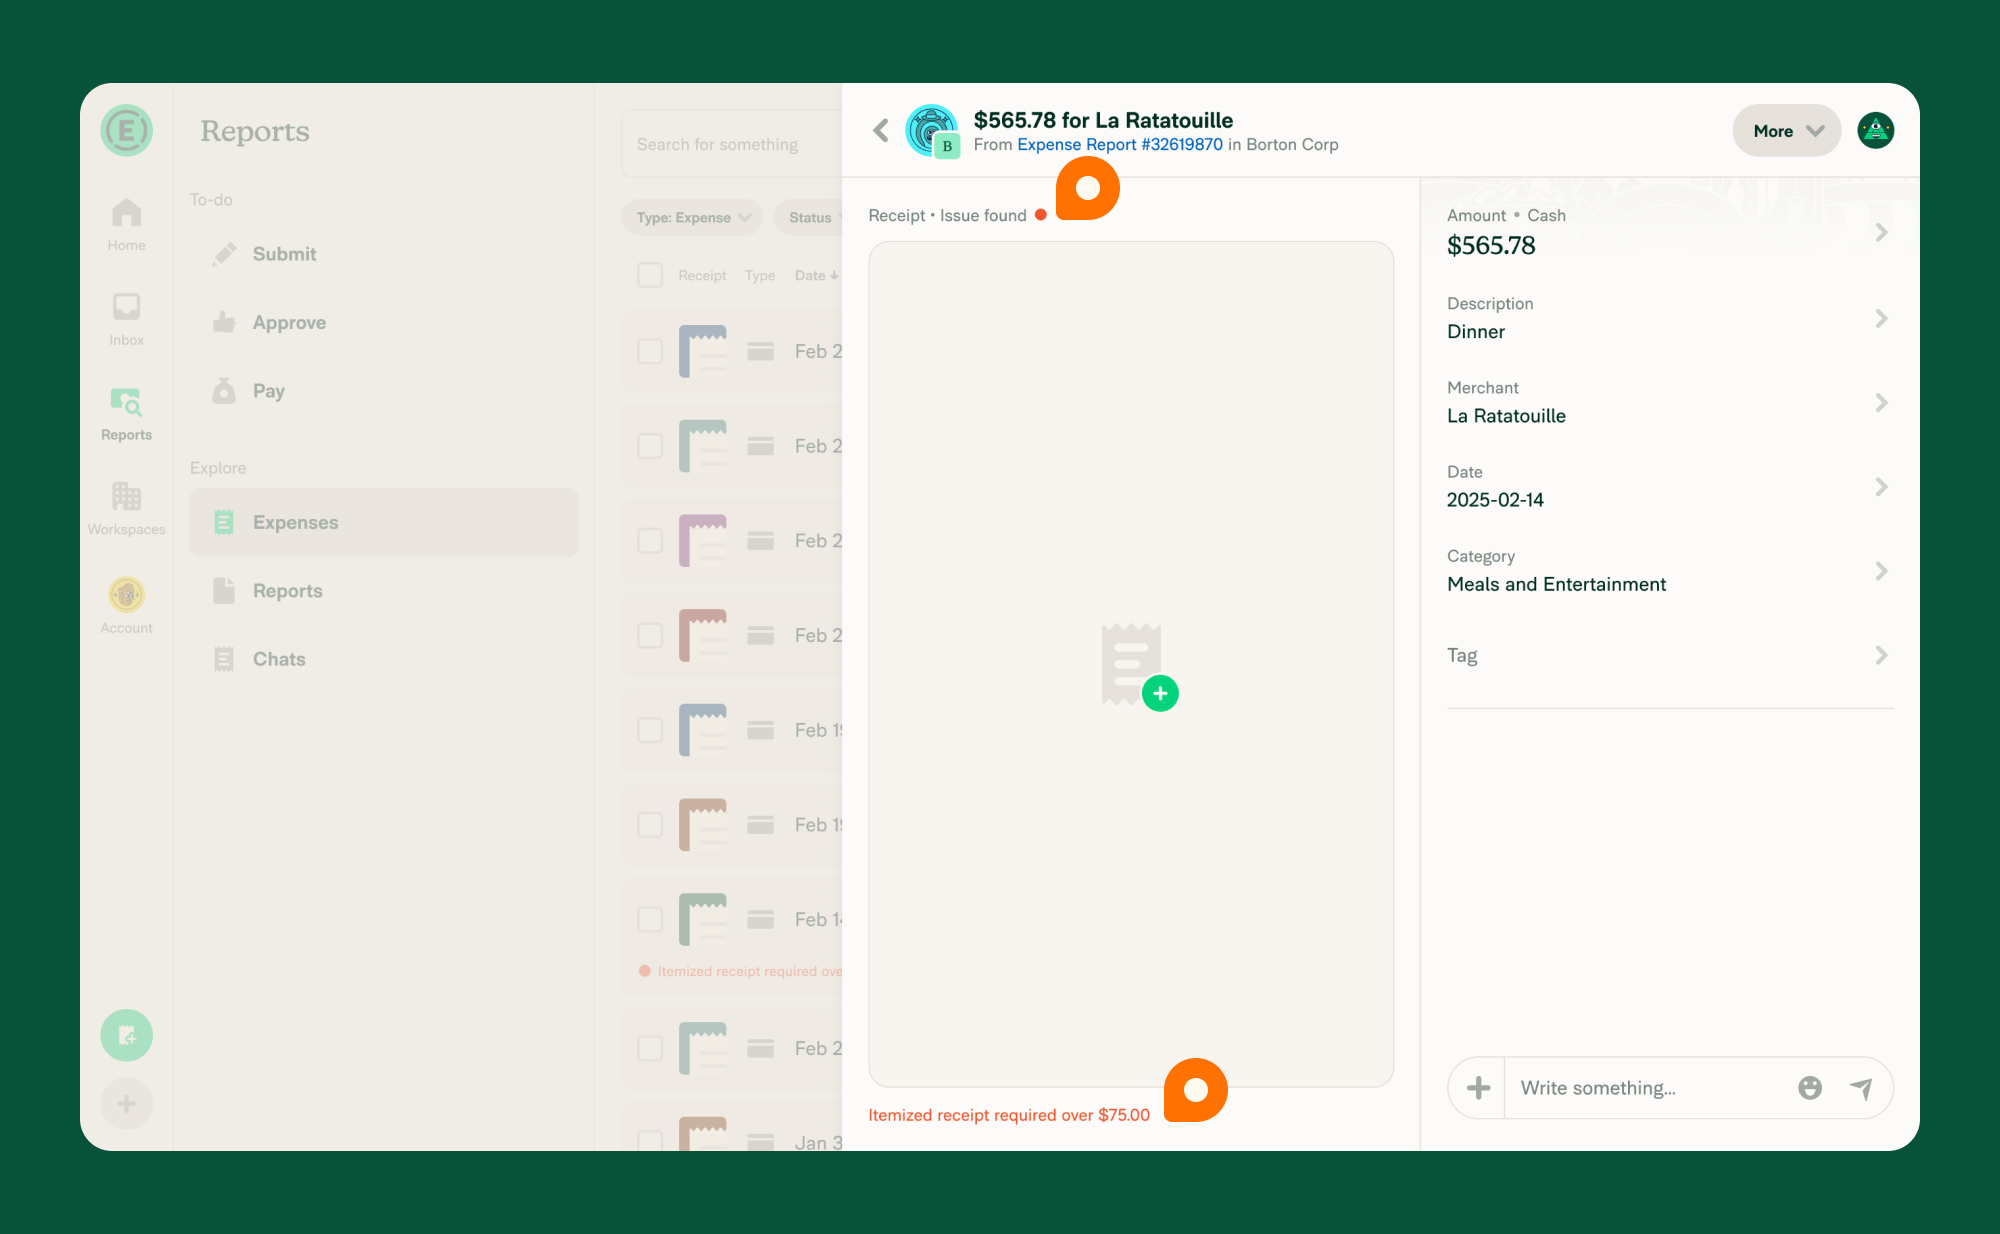
When an expense breaks a Workspace Rule or a category rule, the expense is flagged with a violation and the approver is prompted to manually review it before approval.
FAQ
What happens if I turn Workspace Rules off?
Disabling Workspace Rules removes any active warnings or violations from draft or outstanding expenses that relied on those rules.
Can I disable SmartScan for my workspace?
No, SmartScan can’t be disabled for group (paid) workspaces and cannot be turned off.
When does the Require company cards for all purchases violation appear?
This violation is triggered when an expense meets any of the following conditions:
- It’s created as cash and is older than seven days
- It’s imported from a personal card feed
- It’s manually changed from a card expense to a cash expense
Why don’t I see the Require company cards for all purchases rule?
This rule only appears after at least one company card feed is connected to the workspace. If all company card feeds are removed, the rule automatically disables.
Why don’t I see the Card restrictions tab?
The Card restrictions tab only appears after the Expensify Card is enabled for the workspace. Enable it under Workspaces > [workspace name] > More features, then return to the Rules page.
Why does selecting a tab ask me to upgrade?
Only the General tab is available on the Collect plan, and only the Require fields for all expenses and Billable expenses rules on it. Every other tab and rule requires the Control plan.
What happens if I disable eReceipts?
Disabling eReceipts hides any previously generated eReceipts. Re-enabling the feature restores those receipts.
Who can view receipts when Public receipt visibility is enabled?
When Public receipt visibility is enabled, receipts are viewable by anyone with the URL, and access to the report containing the receipt is not required. This is useful when you want to share receipt links with people outside your workspace, such as a client or external accountant. When it’s disabled (the default), receipts are only viewable by Expensify members with access to the report containing the receipt.
Will disabling rules affect submitted or approved expenses?
No. Disabling a rule only affects expenses that are in draft or awaiting submission. Submitted or approved expenses remain unchanged.
What happens if a category rule conflicts with a rule on the General tab?
Category rules take priority. When both apply to the same expense, the category-specific setting is used.


